The Drone Prototype has arrived
Farm Eagle has built its first remote sensing drone prototype, called Prototype One (P1). Farm Eagle will test the P1’s structure, aerodynamics, and imaging systems to ensure safety, repeatability, and reliability. The prototype marks an important milestone in drone development – where the design jumps off the paper and into reality. But what exactly goes into prototype development? How did we get here? Where are we going?
To get to this moment our founder Kale Macormic has been working for over two years on designing the airframe. The airframe is a hybrid between a fixed-wing and multi-rotor design. As a result, The hybrid fixed-wing Vertical Take Off and Landing (VTOL) design allows for the benefits of both multi-rotor and fixed-wing drones. The Farm Eagle drone design eliminates the need for long runways and constant battery swapping.
A quick note on fixed-wing vs multi-rotor:
Multi-rotors only need small areas to take off and land, while fixed-wing often need a runway. However, multi-rotors suffer from poor flight times due to their rotors requiring constant energy to stay aloft. Fixed-wing drones are much more efficient due to the wing providing the lift and the propellers providing the thrust. Therefore, the hybrid “fixed-wing VTOL” design maximizes endurance and minimizes ground handling requirements, resulting in a more capable drone.
The Stages of Aircraft Design:
A great resource to understand the Aircraft design process is Daniel Raymer’s book Aircraft Design: A Conceptual Approach. I’ve linked the sixth edition here and a short biography of the author here, for those interested.
In short, the conceptual design phase for the Farm Eagle Drone resulted in the general configuration, a weight estimate, and the required wing sizing. The Preliminary Design phase concluded with a final estimate for size, weight, electronic configuration, and control surface sizes. Farm Eagle developed a variety of internal tools for the preliminary design analysis, from custom code to spreadsheets. Finally, the detailed phase of design leads to the most accurate description of the drone- it ends with a bill of materials, manufacturing drawings, and work instructions. Detailed design is where the final geometry of each part is born, using Computer Aided Drafting (CAD). Farm Eagle made use of FreeCAD v1.0 for all geometric detailed design. With a complete definition of the drone and all its components, the next stage of development is the prototype!
Do you want to know the latest details? Sign up for our email list here!
Drone Prototyping:
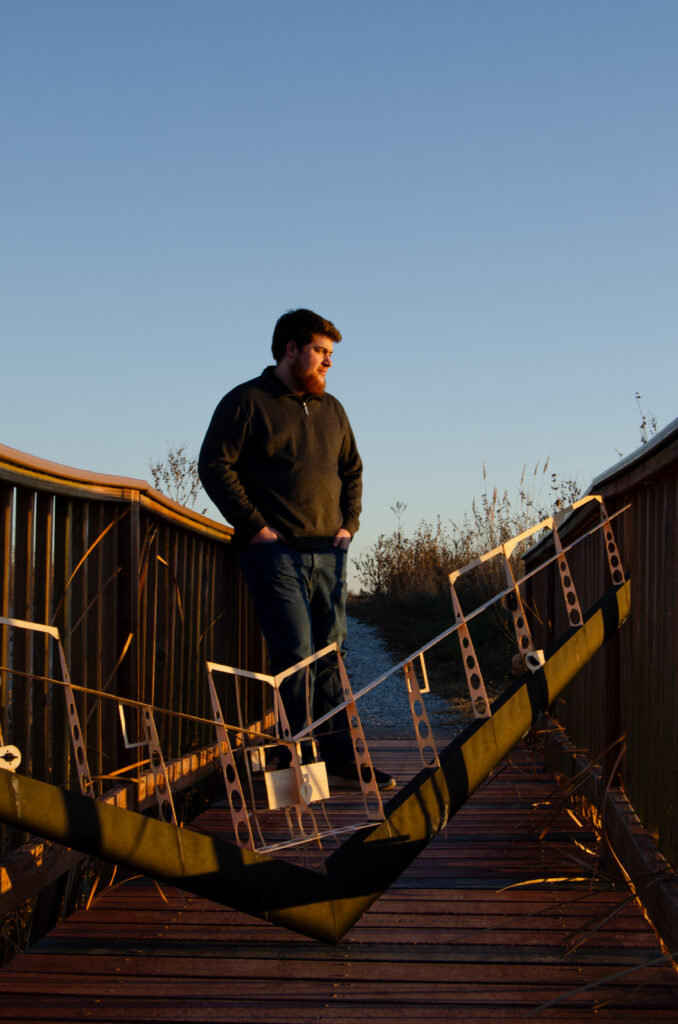
Like other startup companies, we are starting in the garage… Except its almost winter in Kansas, so more accurately the kitchen table! The reason is simple, the glue can’t get to cold, it has nothing to do with “comfort”… And besides, the extra motivation to clear the table helps with testing on-schedule!

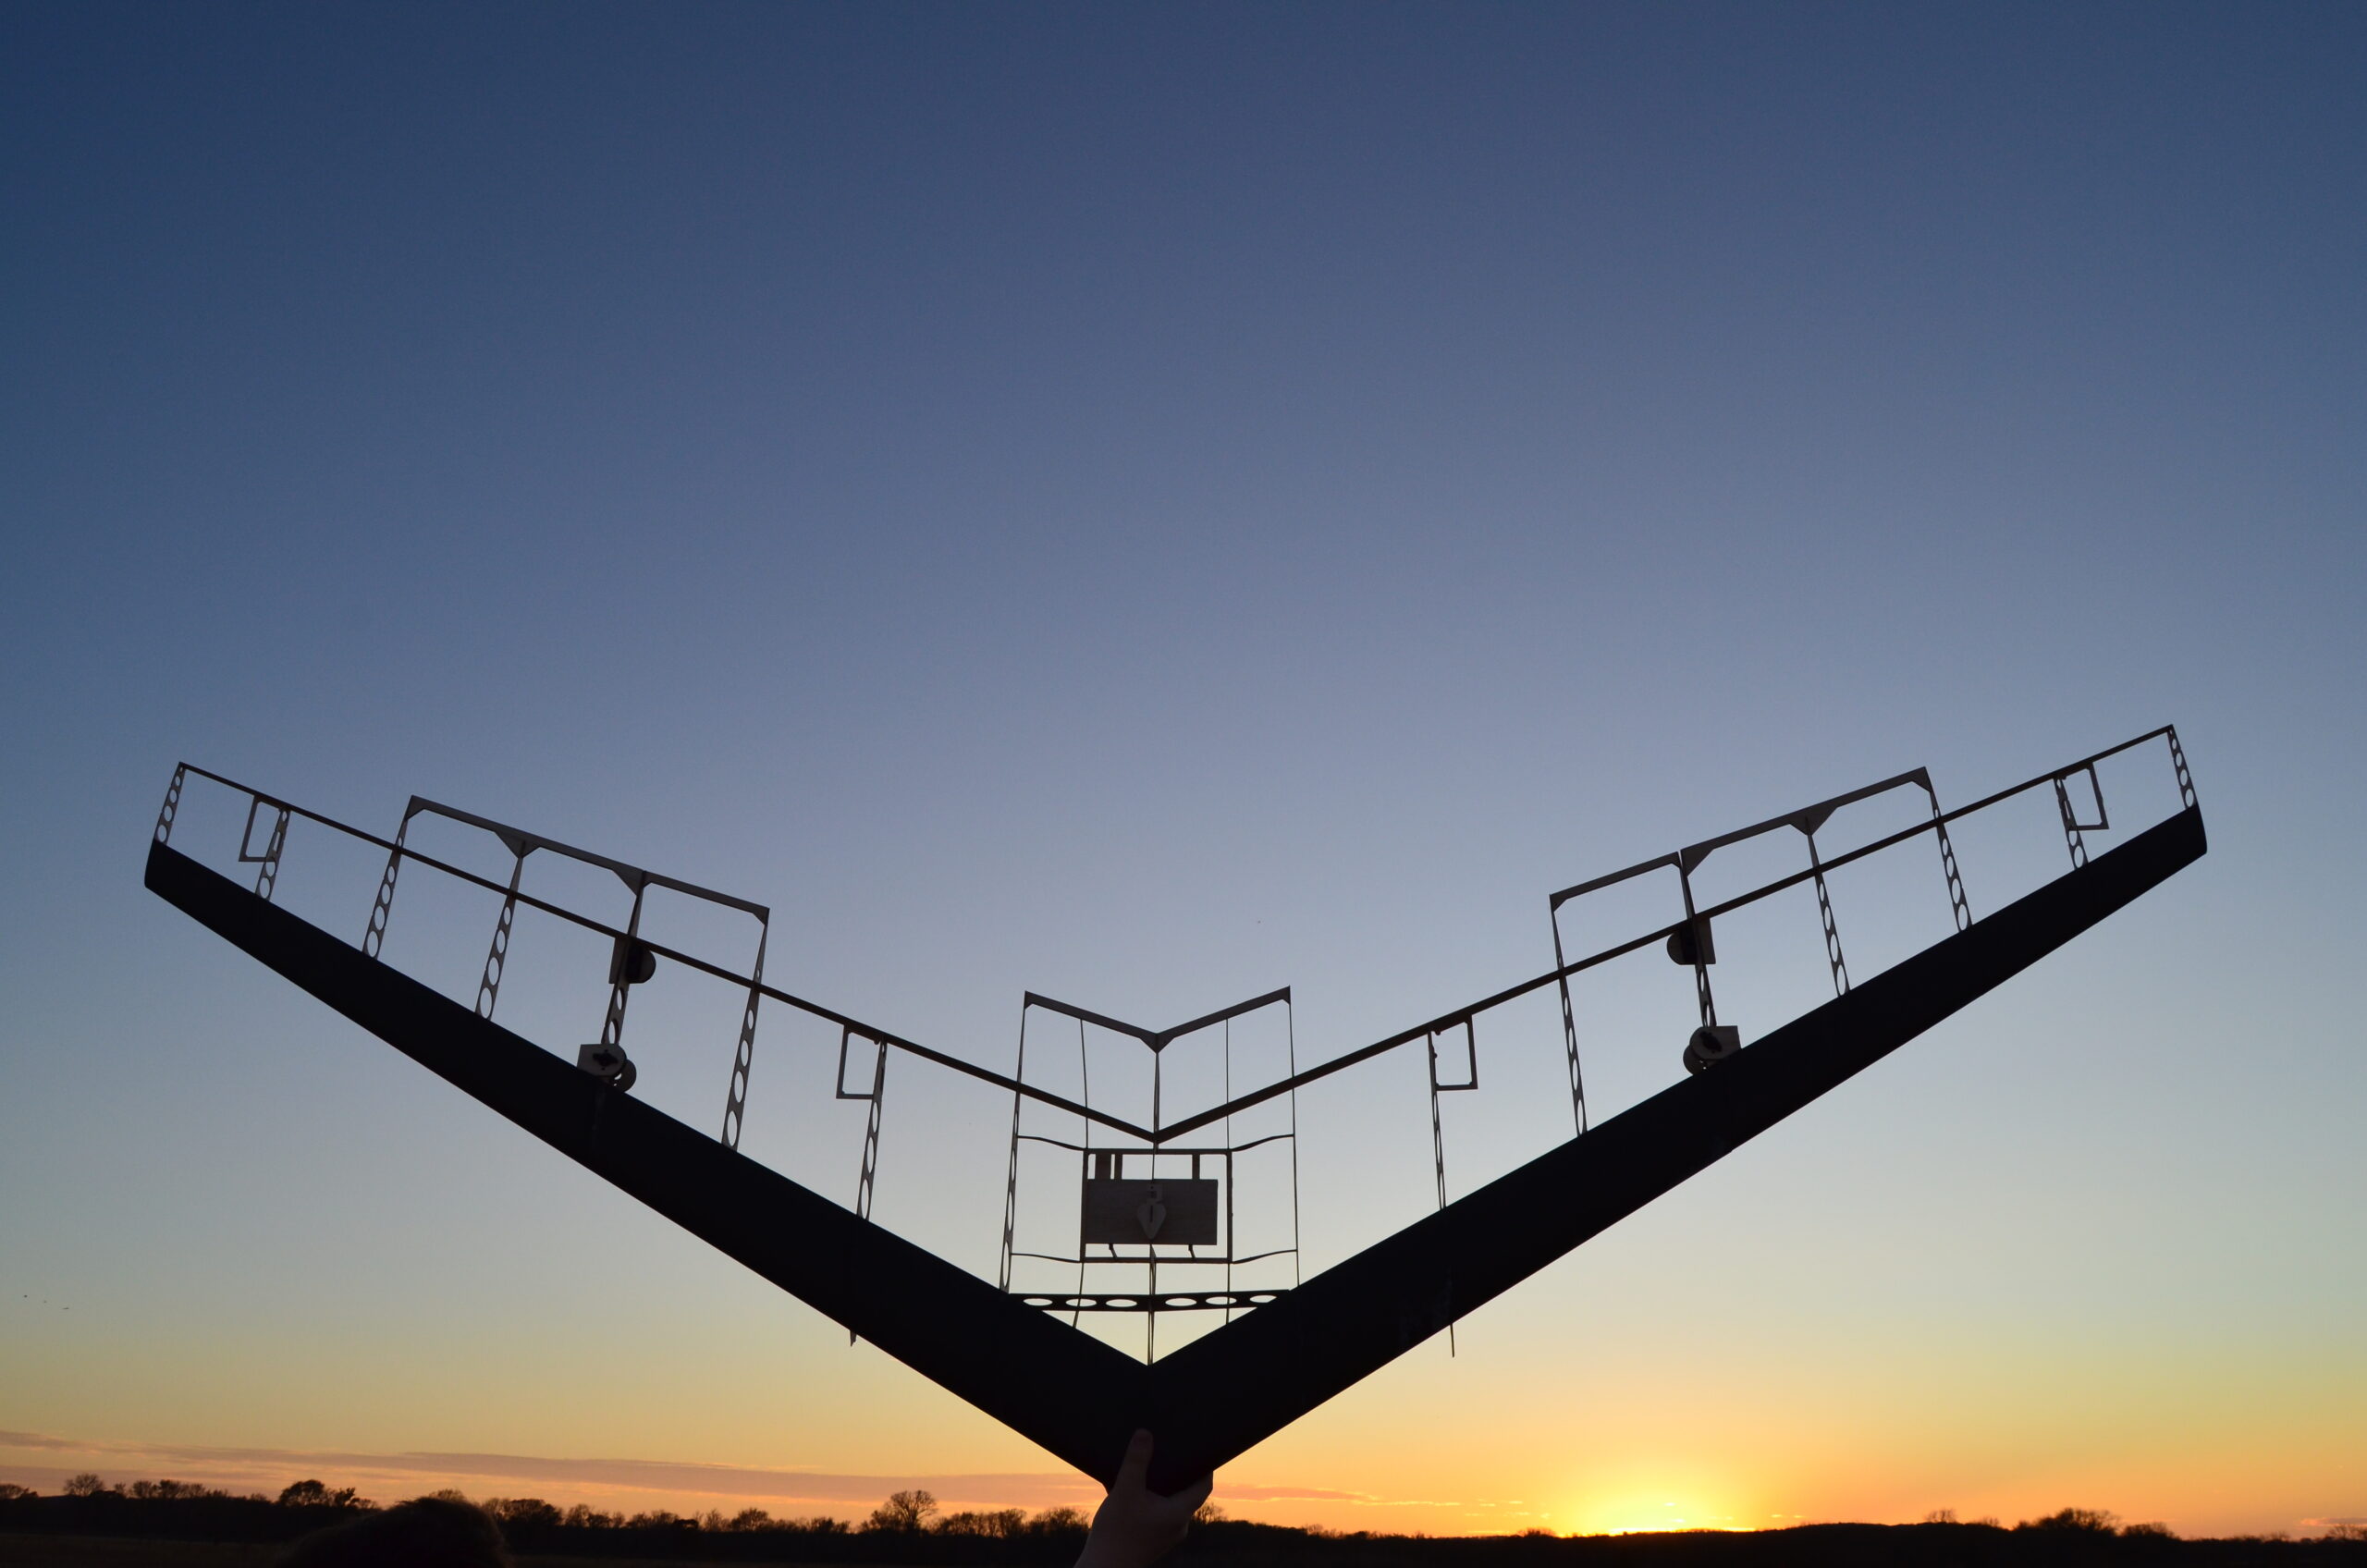
Farm Eagle completed the structural build of P1 this week, and ordered the electronics for delivery next week. The photo session happened prior to electronics installation and covering film application. Farm Eagle designed the aerostructure with two materials: 3D printed Polypropylene with chopped Carbon fibers (PP+CF) and laser cut Balsa wood. PP+CF has a high strength to weight ratio, resulting in a forward spar capable of carrying flight loads by itself. The Balsa ribs and aft spar hold the covering film in the correct shape and provide mounting points for electronics.
The Farm Eagle drone prototype must pass two stages of testing: Ground Testing and Flight Testing. Both are important, but flight testing involves higher risks, especially during transition from level flight to hovering. Therefore, the less risky ground testing will take place first. It will gather data to determine the actual structural integrity, current draw, and weight and balance.
Ground Testing:
Ground Testing begins with the “toss the airplane” test. This test is incredibly valuable and its purpose is to determine the center of Gravity (CG) limits. The aircraft rotates around the CG point, and the distribution of mass determines the CG. In order for the aircraft to have longitudinal static stability, that is pitch stability, the Neutral Point (NP) must be behind the CG. The aerodynamic forces act through the NP and the shape of the aircraft controls the NP. We can map out the location of these points experimentally by simply tossing the aircraft, or with a wind tunnel- but those are expensive!
Testing continues with the “iron bird” testing. This test’s purpose is to test electronic system functionality. This can happen outside the aircraft, or inside the aircraft, but the key is to ensure reliability of signals and continued functionality under electrical load.
The “landing gear” test includes evaluation of the deployment mechanism and structural integrity of the landing gear. The landing gear consists of landing legs which fold out prior to landing and retract after takeoff, and are located on the wing tips. Dropping the P1 prototype at maximum weight onto the landing legs ensures that even the roughest landings are survivable.
Next, the final ground test: “structural” testing. In this test, the airframe experiences limit loads in both the positive (pull-up) and negative (push-over) directions with sand bags. The full envelope of expected loading includes both the positive and negative cases. Key measurements include wing deflection and control surface mobility. This allows the verification of the analytical methods used in preliminary design, and ensures there will be no control binding during high stress events.
Flight Testing:
Flight Testing begins post ground testing. For the fixed-wing VTOL drone configuration, there are two types of flight modes: hover and level flight. Hover makes use of the Flight Controller (FC) to provide stability, whereas level flight does not need the FC. Each type of flight mode must be tested to ensure adequate stability and control. Camera testing, configuration testing, usability analysis, durability, and other data comes from flight testing. It is the final barrier prior to customer shipments, from an engineering perspective, but it is the beginning of manufacturing and supply chain work.
Conclusion
This first blog post is dense, and future posts will break down the current status of P1, and any other company updates. Let us know what you would like to see in future updates in the comments below!
Thank you – Kale
P.S. Want to stay up to date? Sign up for our email list here!